

Exposing them to a piece of your culture is not a simple task when you have kids growing up in a different country. Teaching them about ours to our two girls has always been a struggle for Abhishek and I. Specially because we are not even sure whether we know the best either. And India being so diverse as it is with so many cultures within the “Indian culture” itself, its even more difficult. Its called the country of gods for some reason! Because its quite literally that. We worship so many gods that we can’t even name all of them and everyday is a festival for us. So how do you teach them all of that and the significance of it. But then you do try and do the best you can.
We do it in a cunning way or rather smart way as we’d like to believe! We pick the bits and pieces that are fun and interesting to a 3 and 8 year old minds and then focus on that. Like the part where the god look like a monkey and steals the sun for fun or where he looks like an elephant and rides on a mouse. Pieces like these catch their attention more and festivities involving these make them more involved.
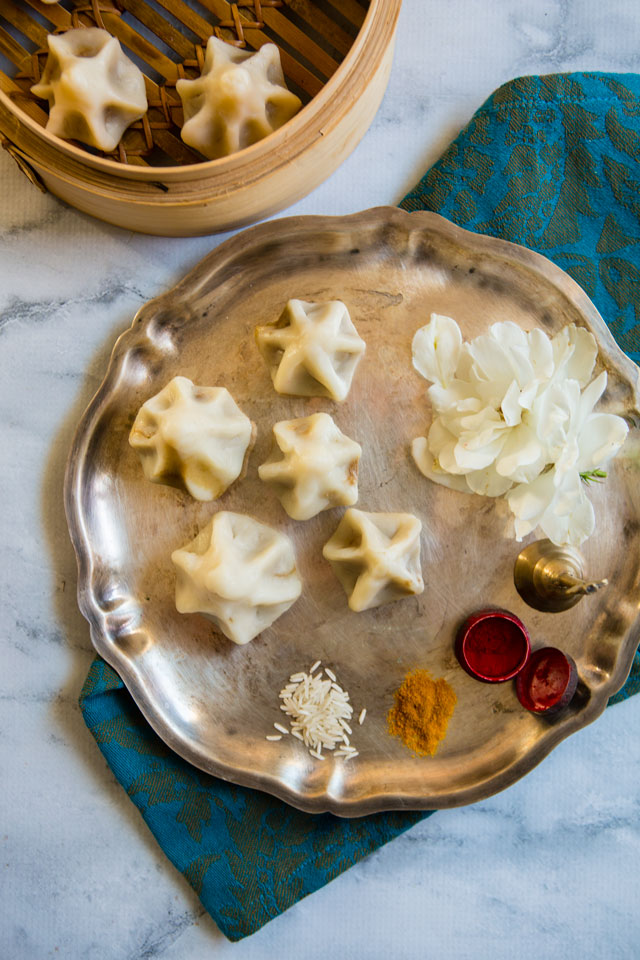
Like the festival we are celebrating today, called Ganesh Chaturthi. The day we celebrate the birth of the “elephant god”, Ganesha. The god who is also the god of wisdom, prosperity, new beginnings and the remover of obstacles. The god who also happens to be the lover of food and of course, he is an Indian god! So on this day we celebrate by cooking all the delicious goodness for the god. Things like mithai (sweets) and modak.

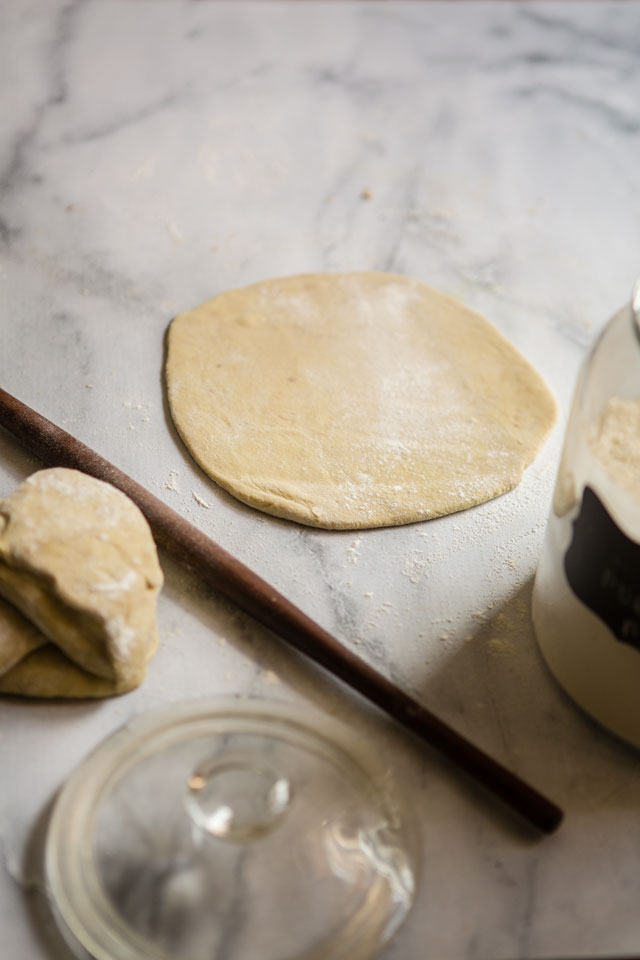
Modak is believed to be Lord Ganesha’s favorite and so is specially prepared on Ganesh Chaturthi. A sweet that is prepared very much like a chinese dumpling only in this case the filling is sweet made of jaggery and coconut or Mava (reduced milk solids). The outer covering is made with rice or wheat flour and is prepared without any eggs but with flour mixed in water and ghee to make a smooth, soft dough. Then filled like a dumpling and steamed or fried like on. Below is a detailed recipe for Modak, the favorite dish of Ganesha and once you try it, its going to become a favorite of yours too.

Modak Recipe
Ingredients
Outer Cover:
- 1 cup rice flour
- 1 cup water
- 1/2 teaspoon salt
- 1 teaspoon ghee
Puran (Filling):
- 1 cup jaggery grated
- 1 teaspoon cardamom powder
- 2 tablespoon poppy seeds khas
- 1 1/2 cups desiccated coconut
- 1 teaspoon ghee +extra for greasing while shaping the modak
Instructions
Puran (Filling):
-
Add ghee to the warm pan. As the ghee melts add jaggery. Let the jaggery melt as the pan heats up. Stir well. Turn off the heat.
-
Add rest of the ingredients. Mix well. Set aside for the puran to cool down completely.
Outer Cover:
-
In a medium sized pot, bring water to a boil. Turn off the heat and stir in ghee and salt.
-
Stir in rice flour and mix well. Set aside for 10-15 minutes for it to cool down, enough to handle.
-
Once cooler to handle, knead the mixture into a smooth dough. Wrap in damp towel. Set aside.
-
How to Shape a Modak:
-
Take lemon sized piece of dough. Grease your palms and the rolling pin. Roll the dough into a ball and then using a rolling pin flatten into a disc. Place approx. 1 1/2 tablespoon of filling in the center. Lift the edges, making pleats and then pinch the edges together at a place giving it a tear drop shape. If the dough breaks in the process, smoothen it with wet fingers. Repeat the process for the rest of the filling.
-
In the meantime, bring 3-4 cups of water to a boil in a medium sized pot. Grease the base of a steamer and place the teamer on top of the pot.
-
Line the steamer with modak. Cover with a lid and let it cook on medium low heat for 11-12 minutes or until the outer covering of the modak is shiny. That means its cooked through.
-
Turn off the heat. Take the modak out and let it cool for 15-20 minutes before serving or offering to the gods.
HAPPY GANESH CHTURTHI EVERYONE!
[amazon_link asins=’B00FA10YXM’ template=’ProductCarousel’ store=’indiansimme0b-20′ marketplace=’US’ link_id=’768d6b5c-c5b2-11e8-8725-b725a0decd90′]


 It is slowly sinking in. I’m slowly beginning to come in terms with it. With the fact that maybe, just maybe… vacation is over. Chutti Khatam, School Shuru (vacation’s over, now its back to school.)
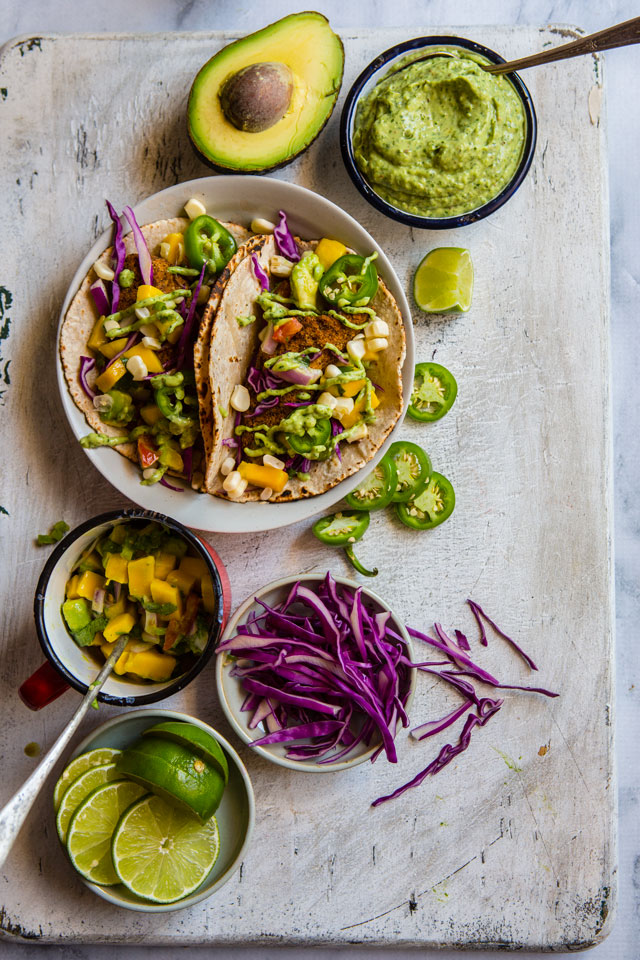 Its a strange feeling when you leave now. Of course you do not want to leave home, the place you were born in and the place that made you. But then you also want to come back home, the place and life you built for yourself. You do not want to leave one for the other, but you always, always have to! But then I guess many immigrants like me must face this and what is life without difficult choices and dilemmas.
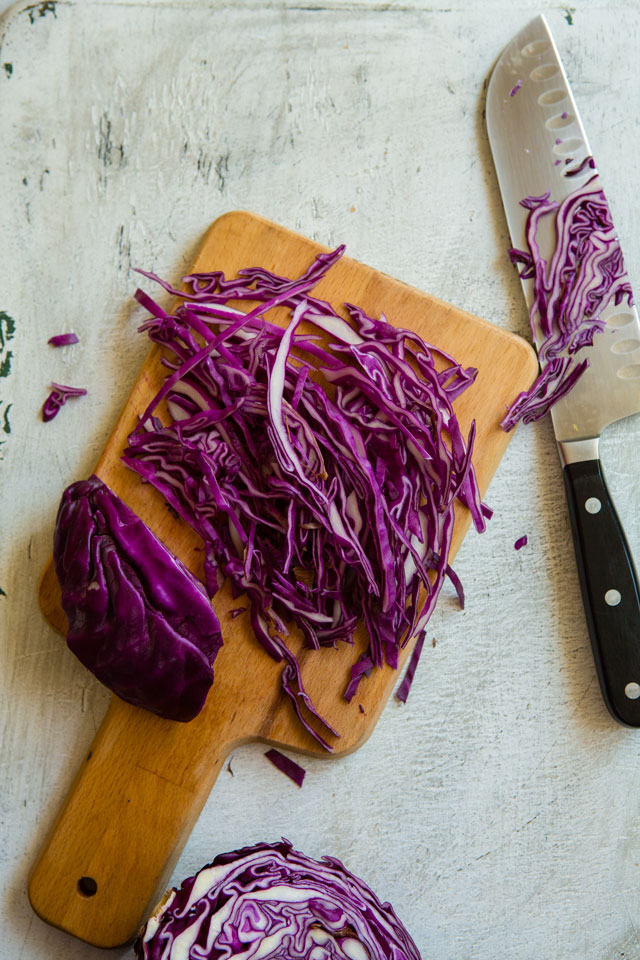 Speaking of difficult choices, there was another one I had to make a while back when developing a recipe for a fun event hosted by
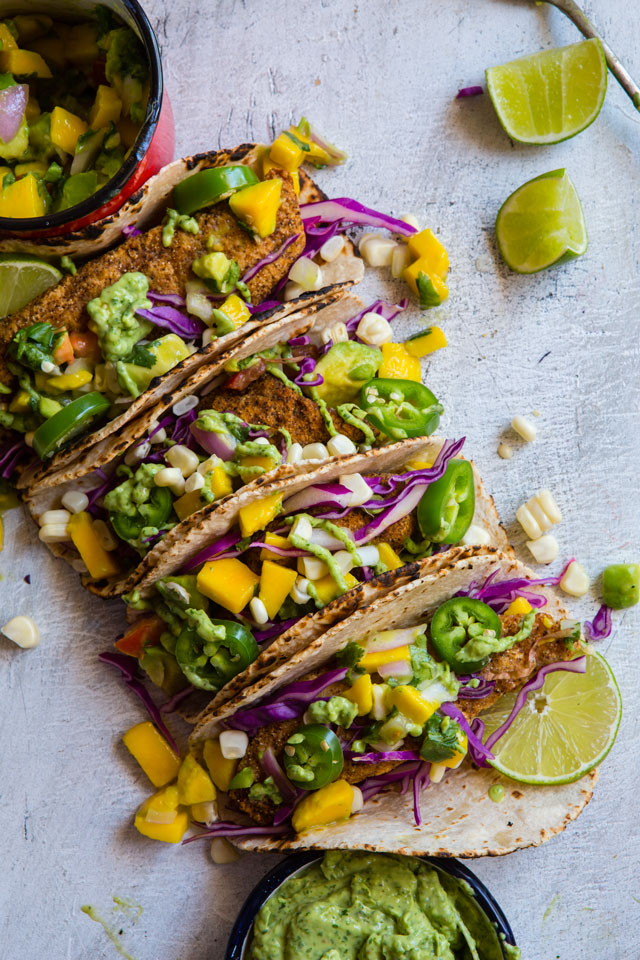
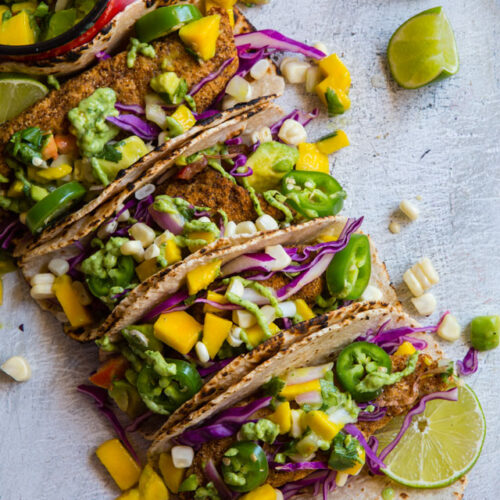
 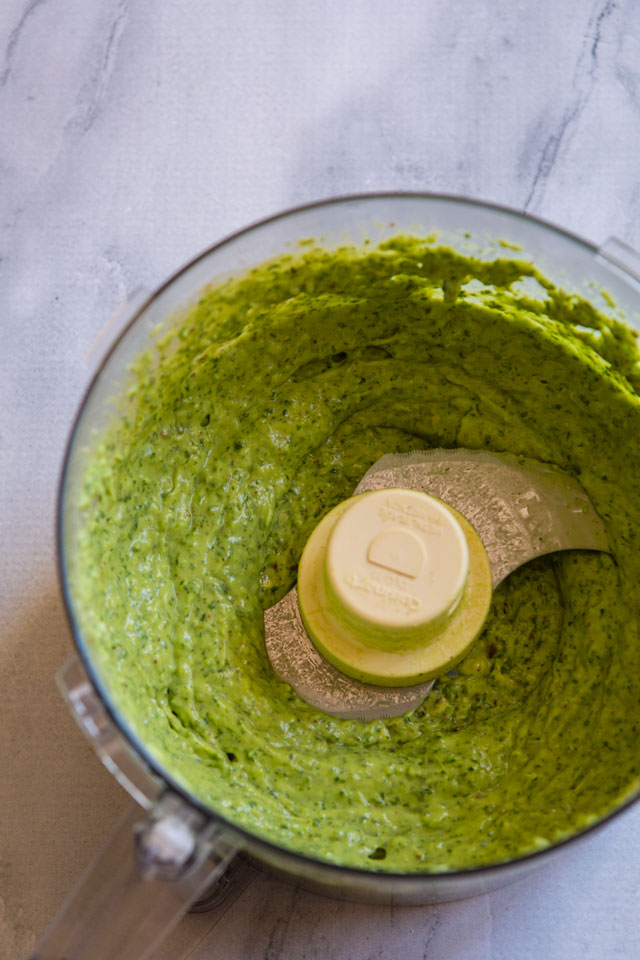 Finally I narrowed down to this recipe- Cajun Fish Taco with Spicy Avocado Crema and Mango Salsa. Its spicy, its sweet, its creamy, packs a punch, fun to eat and a delight to share. The folks at California Avocados agreed with me and featured the recipe in their Summer Soundtrack Cookbook. So follow the

 I do not blog. I have only recently been sharing snippets of my home cooked meals on Instagram
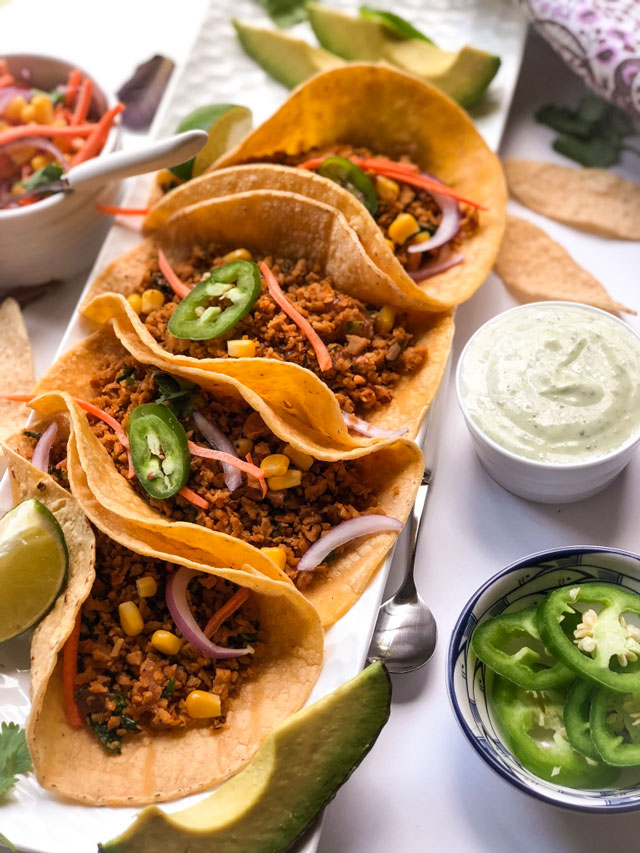
 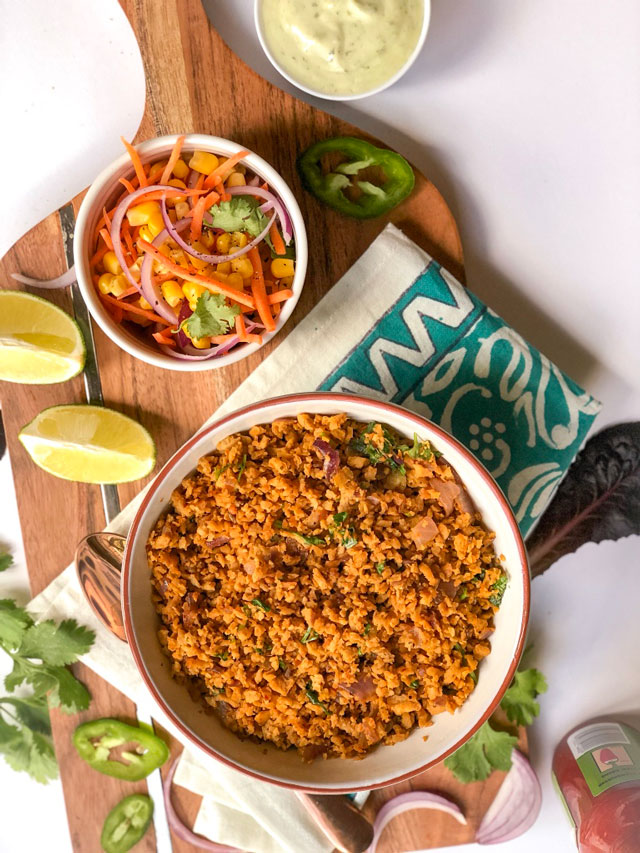 Food symbolizes love – pure, unconditional love; vibrant and colorful. When you leave home, it is very easy to get drawn to the new land and it’s surroundings. It may also be a task to stay connected to your roots and the environment you grew up in. I guess it is all about maintaining a decent balance and keeping everyone happy as well. We love Mexican cuisine. My older one in particular loves her Chipotle meals. Tacos are an all time favorite. As much as we would love to eat out, I try my best to create similar meals at home. Meals where I can keep a tab on the ingredients, oil and fresh vegetables in particular. These Nutri Soy Tacos are inspired by my younger sister who spent a beautiful six months in Mexico City a couple of years back and cannot stop raving about the food in particular. She is a vegetarian and is always on the lookout for good quality vegetarian recipes. Soy is a great protein source and an amazingly delicious meat alternative for vegetarians. We in India grew up relishing Nutrela ‘soy chunks/granules’ in our curries in most vegetarian households. I have tried to create a delicious Indian style stir fry using soy granules and serving them with tacos.
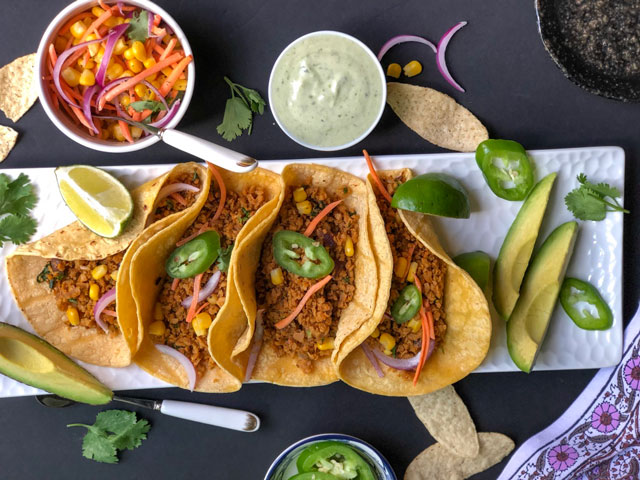 Instructions:


 Like any good love story, when it comes to falling in love with food, you never forget your first. For me, my first taste of saag paneer (or palak paneer) wasn’t until my mid-twenties, at an amazing Indian restaurant that was two blocks away from my Manhattan office.
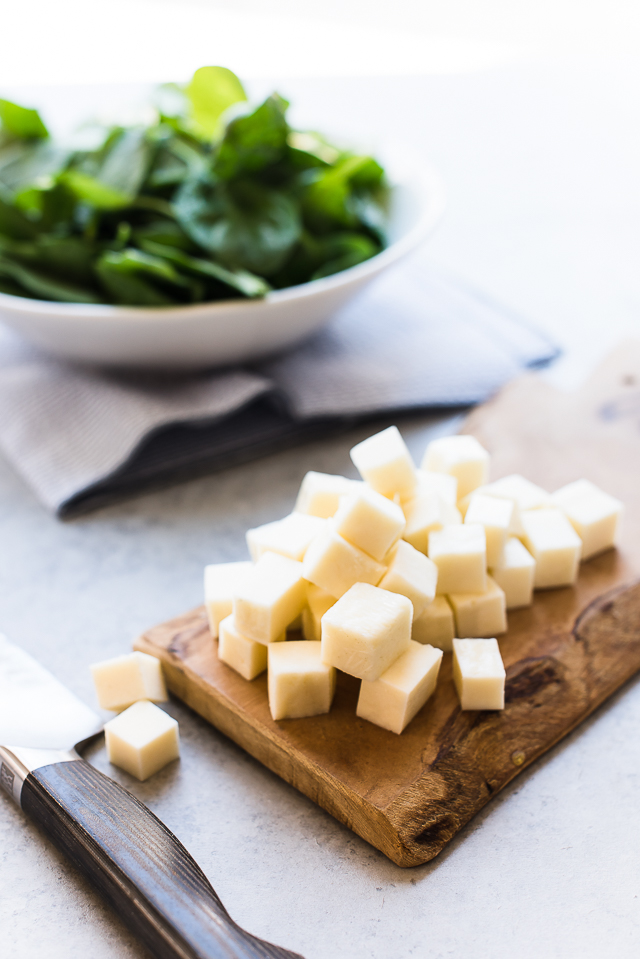
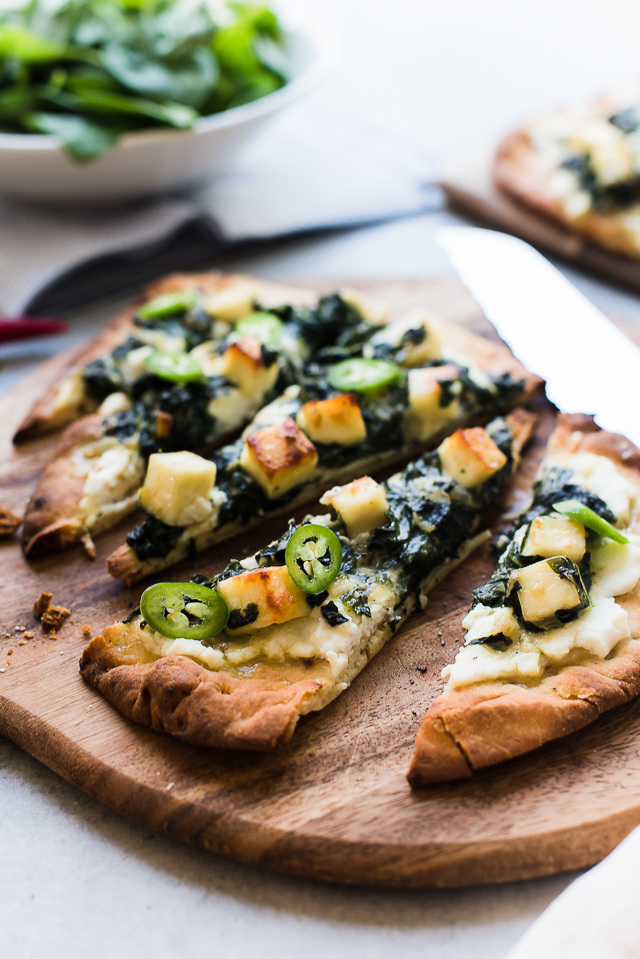 I’ll always remember the soft, squeaky paneer — a cheese unlike any other I had tasted, simmering in the tender spinach I would scoop up with bits of naan. It was heavenly, and I was smitten.
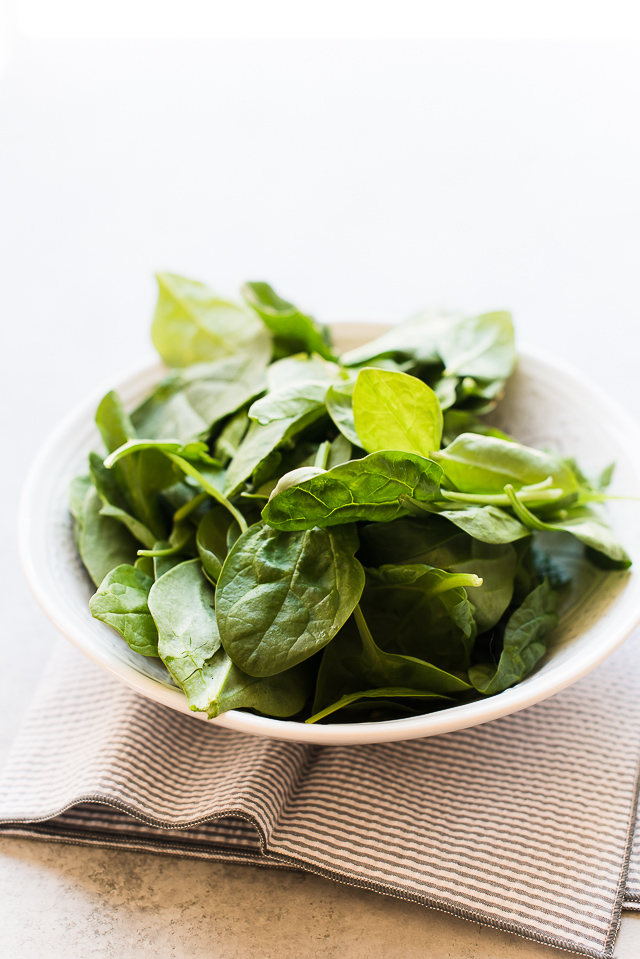
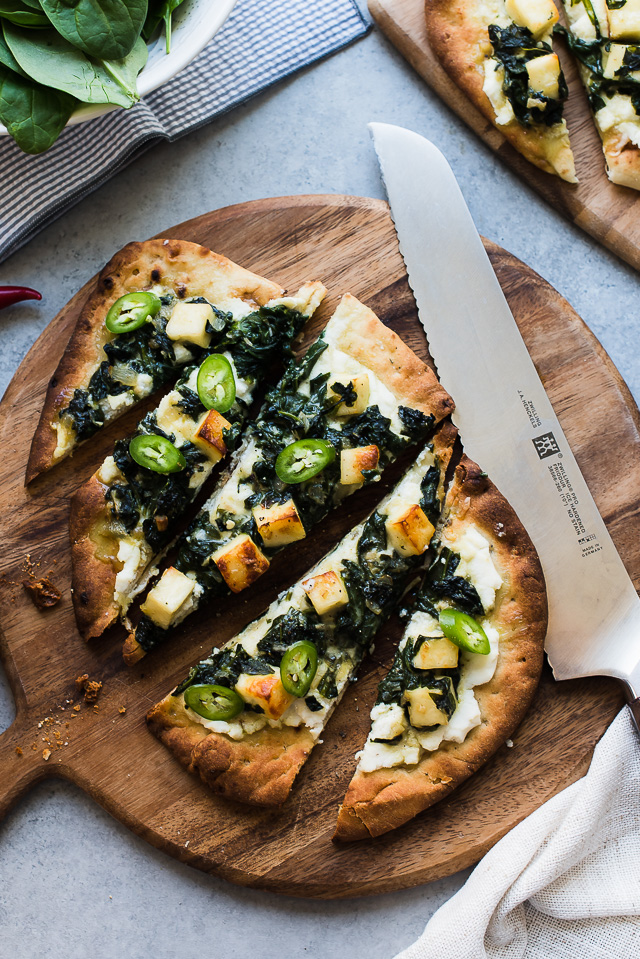
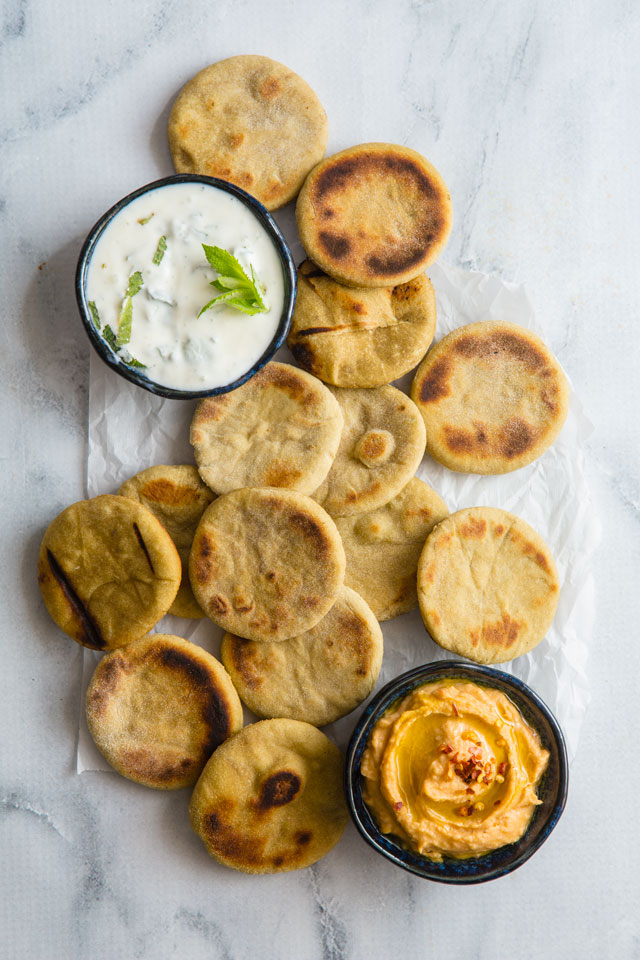
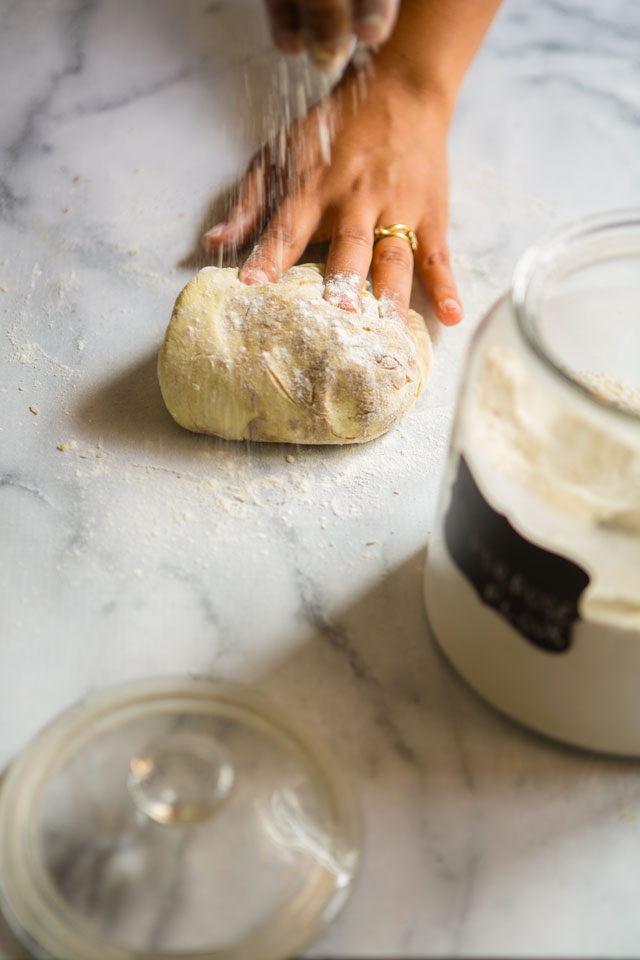
 I’ll be honest, I haven’t been able to replicate that saag paneer exactly, but I can make it at home, almost close enough. Transforming my favorite spinach dish into a pizza is like two of my favorite New York food memories put together: saag paneer with white pizza! Naan bread is simply topped with ricotta and mozzarella, then given generous dollops of saag paneer before it bakes in the oven. It’s my new taste of heaven, without having to pick up a fork.


 Transfer leftover Dal to a big bowl with whole wheat flour (atta)
 Add rest of the ingredients together in the same bowl and mix it all well together.
 Divide the dough into 12 equal parts. Roll the them into balls. One ball at a time roll into a paratha.
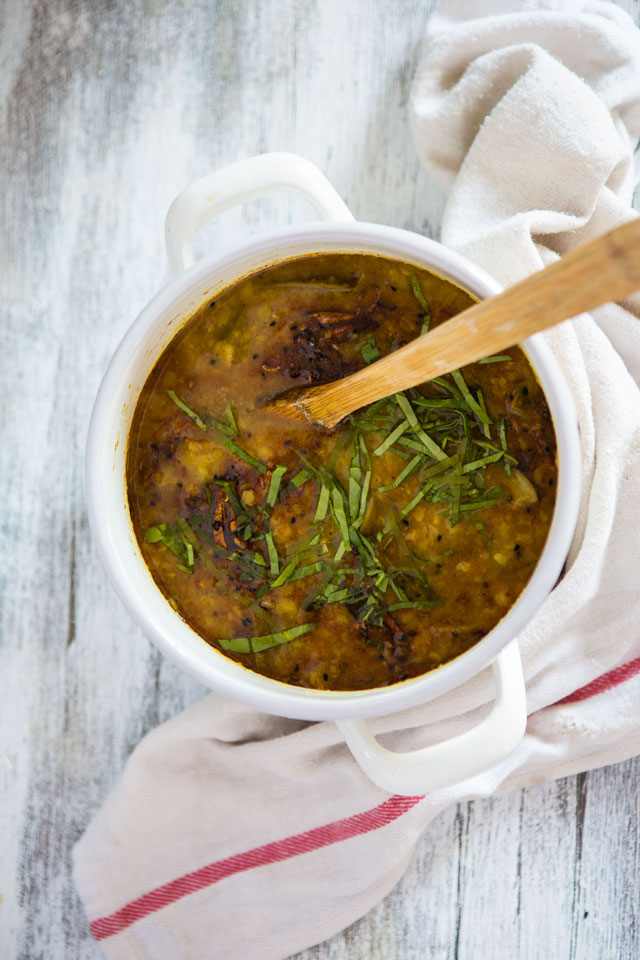
 But then we also had to come back home at the end of the day, with hands full of “grandma’s” young raw green mangoes. She would give us “the eye” and we would steal one from her. And she would grab a couple from our hands and go, “follow me, let me teach you something that is of use to you.”, walking towards the kitchen. We’d pour some lentils out, wash them under running water while grandma cut the raw mangoes to add to the soup. Within minutes the veranda would smell nutty, of the simmering Khatti Dal in an open pot and we would be huddled around grandma listening to her stories about her teatimes with the queen, munching on thin silvers of raw mango sprinkled with salt and red chili powder.