I’m one of those people who really get uncomfortable if left in silence. I just can’t live alone and if I have to then there has to be a constant noise which I need to hear otherwise I start imagining things. I start imagining a big tree in the middle of my living room, a shoe coming out from behind the curtain, someone sitting on my couch…I know that happens with you too, but you just won’t admit..Anyways so what I was trying to say that when I’m home I just switch on music or open the windows to be able to hear what’s going on outside or else I just leave the television on..Are you still thinking I’m creepy?? But that’s how I am.
So the other day as I was working on something and as usual my television was on and my ears got pulled towards something “Chocolate…when we come back after the break”. Now I had to pay a little more attention and time as now I had to sit through the break for the show to come back. And comes back ‘Giada’ from ‘Everyday Italian’ on Food Network. Today she came with Chocolate Sformato. Now anyone who has ever eaten a Sformato has to agree that you shouldn’t let this one go specially after seeing how easy the recipe is, so I had to steal it. So that’s what I did and trust me I and my husband almost died when we took the first bite of this deadly thing and I decided I had to put it here on my blog.

Although I made a couple changes from the original recipe but this one’s good too!

And I’m sure you’ll be licking your spoons!

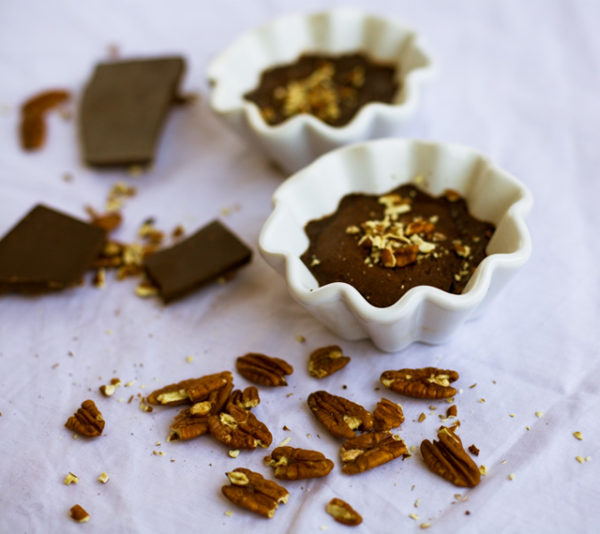
Unlike Giada I made individual cups for everyone and did not use any liquor for the whipped cream infact I didn’t use any whipped cream at all. And used pecans instead of almonds on the top.

So following is the recipe of Chocolate Sformato with Pecans:
Ingredients:
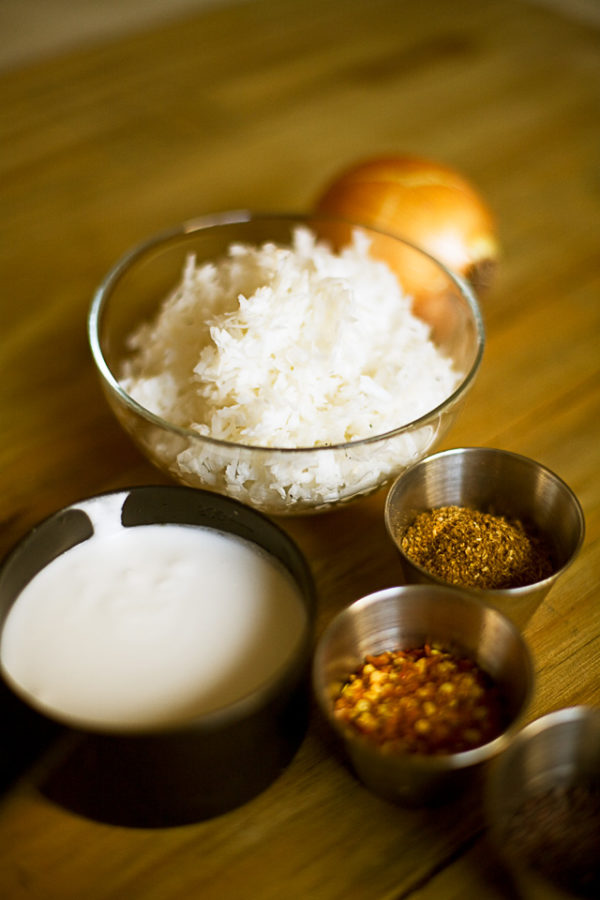
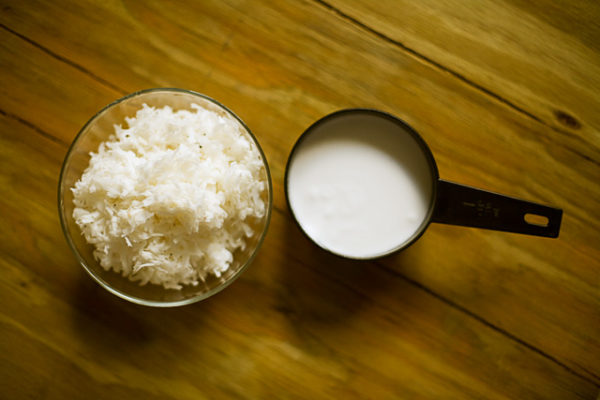
1 cup whole milk
1/2 cup sugar
1/2 tbsp good vanilla extract
1/2 packet gelatin
2 eggs
6 oz of semisweet chocolate
1/2 cup crushed pecans
This recipe serves 6. I made 6 individual Sformato bowls.
First and foremost preheat the oven at 350 deg. F.
Now I took a small saucepan and combined milk, sugar and vanilla and let it simmer until all the sugar dissolves well. Just save a little milk which would be needed later probably a 1/4 cup.Then turn off the heat and leave it to rest. In a separate bowl or cup mix gelatin and the milk you would have saved. Stir it for about1-2 mins until you are sure it hads mixed completely and then mix it to the mixture in the bowl. Now add the beaten eggs into to the warm milk but don’t forget to slowly add the eggs and stir the mixture thoroughly so that eggs don’t get scrambled. Now this liquid needs to be poured and strained through a thin mesh or cloth to confirm there’s no lump in it.
While that’s being done melt your chocolate in a double boiler (Double boiler is just a fancy word for a bowl placed tightly over a pan or pot of boiling water.) and then slowly mix the liquid mixture into the chocolate making it all smooth.
Then I buttered all my small bowls in which I wanted to serve the dessert. Poured the chocolate mixture into individual bowls. Placed them all into a tray and filled the tray with water to about half the height of the bowls. Yes! I also garnished them with coarsely chopped pecans. Then put the tray into the oven and let it bake for about 40-45 mins until the sides look firm. Take it out when ready and let it rest for about 30 mins.